Sunday, May 19, 2013

Rock and Roll Half Marathon

Preparation.
 
More preparation.
 
Our theme today is stretching.
 
Establishing shot.
 
Theme photo.
 
Theme photo.
 
Theme photo.
 
Theme photo.
 
Theme photo.
 
Theme photo.
 
Theme photo. (Yes, I should have collaged them)
 
Matt's in his corral.
 
Theme photo.
 
I loved how organized this race was.  All through the food-and-fun area they had these guitar pick letters of the alphabet to make it easy to meet up with people.
 
Pace car.
 
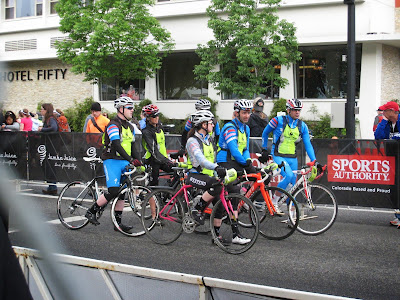
Pace bicycles?  What are these guys supposed to do?
 
I decided to take several pictures of the start line.  Several turned out to be 600+. (My hands went numb several times.) I've mashed them all into a 2:30 slide show for you.  It's fun to watch around the minute mark, when people start coming back the other way on the other side of the street. At that point, those people have run 3+ miles and a lot of people haven't even started yet. It pays to be an elite runner.

Nothing says "rock and roll" like portable sinks.
 
It's so rock and roll!
While I was taking 600+ start line photos, the band was warming up.  I wanted to get a picture of the lead singer in his red velvet suit, but the band had wandered off by the time I was done at the start line.
 
Rock and Roll security guards.
 
The best time to use the port-a-potties?  Right after the race has begun.
 
Amazingly, these are the police that pace the lead runners.  Which means that some people have already finished.  I've still got a bit of a wait.  Matt is fast, but not that fast.
 
And here is one of the reasons I don't want to be a police officer.  There's a lot of standing around.
 
Spotting my first finisher.
 
Reading a friend's novel.
 
This guy came and shared the bench with me. Apparently he's a fast runner.
 
Finish line freebies.
 
 
(this is my favorite photo)


Finish line hanging out.
 
She had amazing hair!
 
Mill Ends Park.  We just visited that during the Shamrock run.
 
Photo guy.
 
Matt with photo guy.
 
Matt posing for this "photo guy."
 
Attempt at a candid was ruined when she spotted me taking the picture.
 
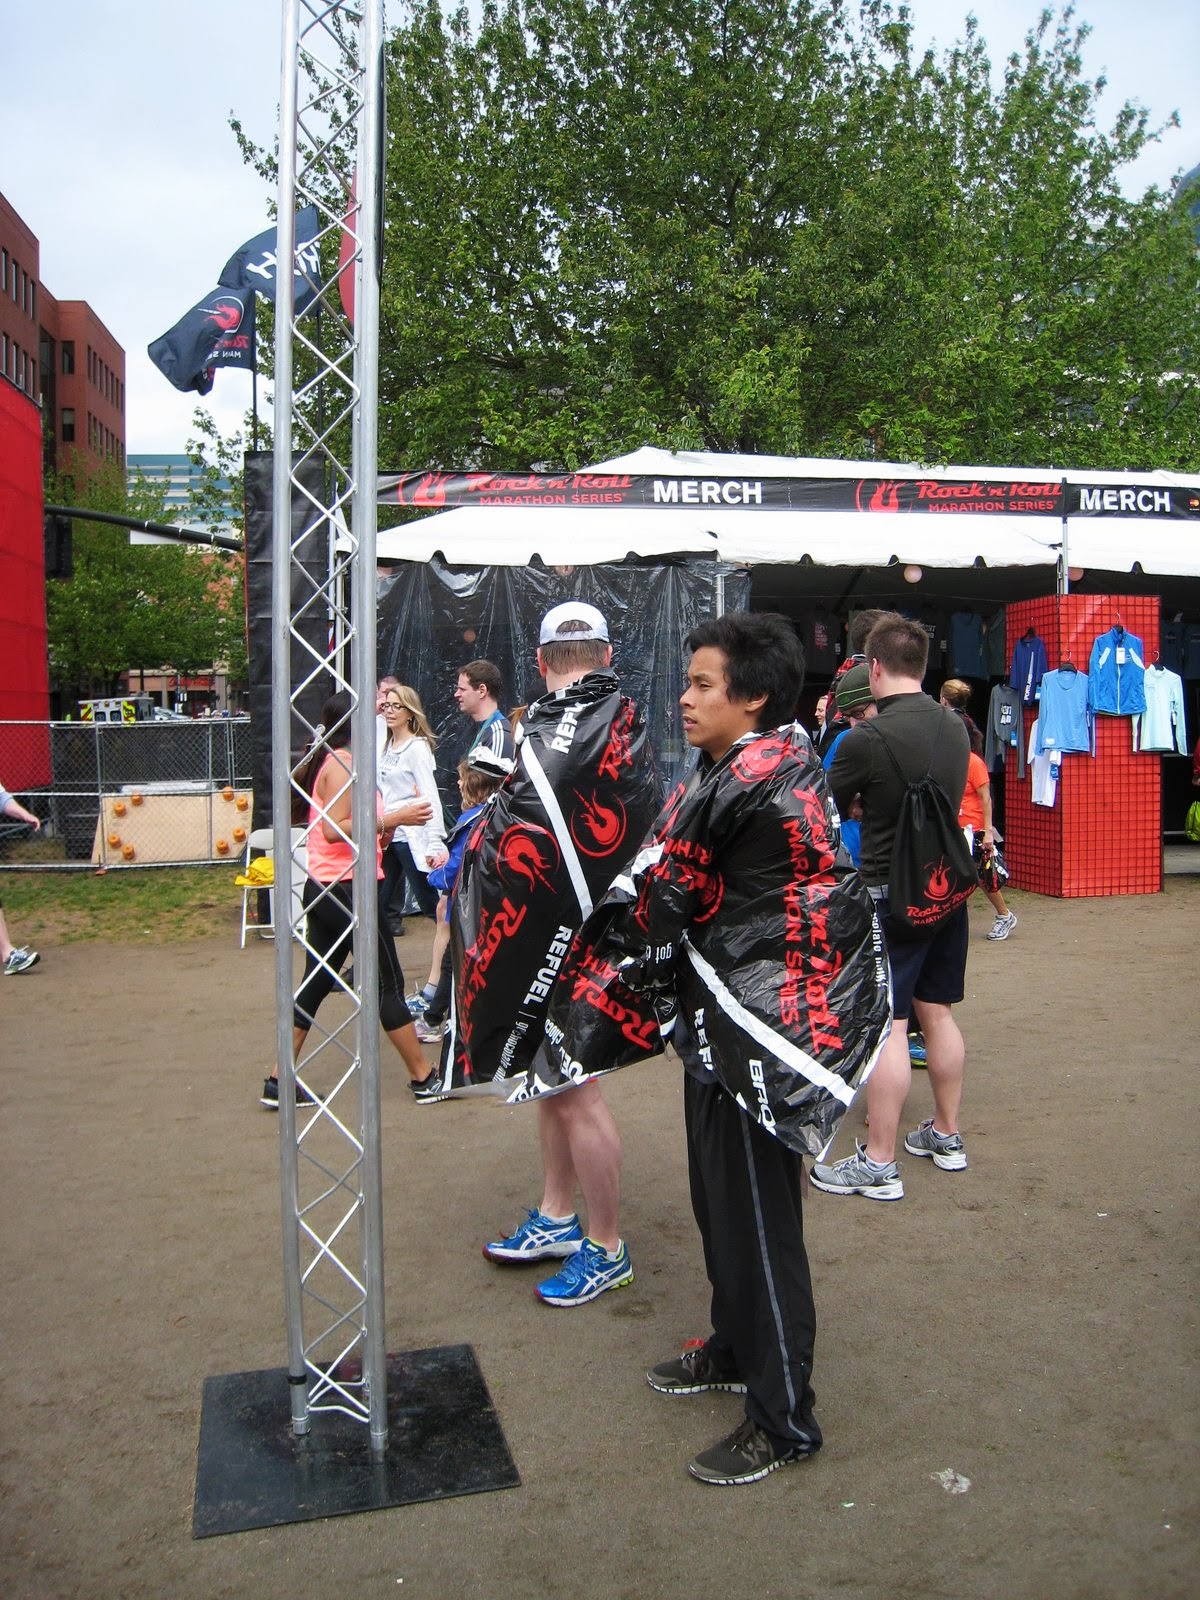
I love the wraps.
 
Theme photo.
 
Ambulances at the ready.
 
Finisher!
 
Nice medals.
 
I neglected to remember to remind Matt to bring clothes for after the race (falling down on my athletic supporter job) and so I fashioned him this outfit out of four post-race blankets. He loved it.
 
Check out the ice on this guy's ankle. Also: theme photo!
 
See!  People waiting at their alphabetical guitar pick for their families.
 
Theme photo.
 
Theme photo.
 
Matt and Burt.  Finished!
 
Burt looking all Rock and Roll.

Also, Matt was on TV.  Here's the link.

Saturday, April 27, 2013

Beautiful Wreck

Here's the mustard I planted last August.  I was supposed to pull it down before it got to this phase, but I didn't.  It's taken over the entire side yard.
 
But, despite its messiness, it's beautiful, no?


Much like this song.

Sunday, April 21, 2013

NWCTC's Winter's Tale

It's weird how I bring my camera everywhere and then I suddenly forget it. I forgot my phone too, so these pictures are taken with Matt's cellphone.
 
For this performance, we had the traditional stage setup, rather than the usual theater-in-the-round.  It's been quite awhile since I've seen a performance at the Shoebox Theater in this format.

I've fallen of the wagon of reading the plays before I see them, so this was a complete surprise to me.  It was a good production of what Matt terms "a weird play."  Part of it was set in Bohemia and the costumes of the peasants were very fun.  The dancing, as choreographed by Clara-Liis Hillier was fun to watch.

Note to self:  if you are going to wait more than a month before writing the review, at least make some notes on the program, for goodness sake!

Saturday, April 13, 2013

Make your own yogurt

About a year ago, I was looking for ways to reduce grocery costs and I had a realization.  I was buying a huge tub of plain yogurt for more than $5.00, when for a little bit of time invested and only $3.00, I could buy a gallon of milk, and turn it into double the amount of yogurt.  So I've been making my own yogurt.

I got this recipe from Make the Bread, Buy the Butter, by Jennifer Reese.  It works for me, though there is more than one way to make yogurt, so if this seems too complex, do some research and find a way that works for you.

Here's what I use:
1 pot
1 straight-edged spatula
1 spoon (or, in this case, spatula) rest, (I use a plate)
1 thermometor
1 cup plain yogurt to use as a starter (I save a cup from the previous batch in a labeled jar. However, if you are doing this for the first time, buy some natural, plain yogurt.  In my area, Nancy's a good brand, but plain Dannon yogurt is a national brand that works.)
1 gallon of milk, with one pint of milk poured out and saved for other use.
(I pour out this amount because if I make the entire gallon, it doesn't fit in my containers. If you have bigger containers, use the entire gallon)
 
Pour the milk in the pot.
Tip.  If the milk is at room temperature, the entire process is much faster.  When I can, I set the milk on the counter a few hours before.
 
Set the pot on the burner and turn the burner on to medium.
 
You will want to scrape the bottom intermittently to keep a huge crust of burnt milk solids from forming on the bottom of the pan.  I confess that I rarely stir enough and almost always have a crust of burnt milk solids on the bottom of my pan.  But I have a secret way to clean them, so I'm good.
 
Take the temperature. You want the milk to be at 188 before you go to the next step.
 
When it gets to that point, the top will be rather foamy.
 
Pour the hot milk in a bowl.  In this picture, you can see my crusty bottom of the pot.
This is actually in much better shape than it usually is.
 
Put the bowl of hot milk in a sink of cold water.  In my case, my sink is roomy enough so I can set the bowl in and then fill the sink with water.  I put in a tray of ice cubes too.  If you don't want to bother with this, you can just let the milk mixture cool down on the counter. It takes longer.
 
Reduce the temperature of the milk to 120 degrees.
Your sink full of cooling water most likely won't have potato peels in it. That's probably for the best.  In this case, I forgot to clean the sink before I took the picture.
 
When the milk gets to 120 degrees (don't worry if it's a bit below that, yogurt isn't super picky, I usually wander off and forget to check for awhile and then find myself sprinting back to the sink) scoop some of the now not-as-hot milk into a bowl.
 
Dump in your yogurt "starter" also known as yogurt you've saved from the previous batch.
 
Stir it around. It will be chunky.  That's okay.
 
Then stir everything together.  Your milk has now been inoculated.
 
Ladle the inoculated mixture into containers.  I happen to just use the Nancy's yogurt containers that I saved from before I started making yogurt myself, but I know that Ikea has some fancy bowls in this exact shape that I have plans someday to purchase and use for my yogurt containers.
 
I label the top of the containers with masking tape indicating the date and set them in the oven with the light on.  In my oven, this provides the perfect temperature.
 
Then I leave the yogurt in the oven overnight.  While I sleep, the cultures are happily culturing.  I have learned the hard way to remind myself that the yogurt is in the oven.  I use a post-it note and masking tape over the "Bake" button on the oven.  It's pretty effective.
 
Then next morning, like magic, my milk has become the semi-solid state we know as yogurt.  The first thing I do is portion out the starter culture for the next time and label it.  Before I started doing this I would accidentally run out of yogurt. Then I would have to buy a bit of Nancy's yogurt to start the process again.
I use my yogurt for smoothies, so I like all the whey to stay in it. However, if you are a fan of "Greek Yogurt" this author (25% Greek, herself) can tell you how to make your own.

"Greek Yogurt" variation:
Take a colander and put a dishtowel in it.
If you want to keep the whey for other purposes, set the colander in a bowl.  If not, set it in the sink.
Dump your bowl of yogurt into the dishtowel/colander contraption.
Wait a few hours.
When the yogurt is drained of enough whey to look like "Greek yogurt" dump your now "Greek yogurt" back into a container and enjoy.
If you want yogurt cheese, just keep letting it drain (probably over night) until you have something that looks like cream cheese.
 
Here's what my finished product looks like after I scoop out my starter culture.  The whey will separate from the yogurt with this kind of yogurt, because there are no stabilizers.  You can just stir it together to combine it.
 
Here's what it looks like before I plunge in the spoon for the first time.  I love the tiny bubbles on top.

Are you wondering what the secret way to clean the burnt milk solids at the bottom of the pot?  Here it is.  Put about an inch of water in the bottom of the pot and add about a tablespoon of dishwasher detergent.  Return the pan to the burner and boil the water.  If you have not put a ton of water in the pan, it won't boil over and the heat and the detergent will scrub away at the burnt crust of milk solids.  I usually pull the pan off the heat a few times so I can use my spatula to scrape away at the crust coming away from the bottom, then I return the pot to the heat.  When it all seems to have come off (you can tip the pan from side to side to check) dump the crusty, detergent laden water and wash as usual.

Friday, April 12, 2013

Hike: Tom McCall Point

Matt has every Friday off, but I only have a few during the school year.  Today was one of them.  We decided to head out to the Columbia River Gorge.
 
Here is a shoddy picture of Multnomah Falls.
 
Trees in bloom.
 
Climbing up (via car) and looking down.
 
Our parking space, with McCall point in the background.
 
Information about the engineering process for the Columbia River Highway.
 
And the result in real life.
 
Matt is ready to hike.
 
We have three miles ahead of us.
 
More information.
 
Early spring.
 
At the top, with Mt Hood in the background.
 
A less blurry picture.
 
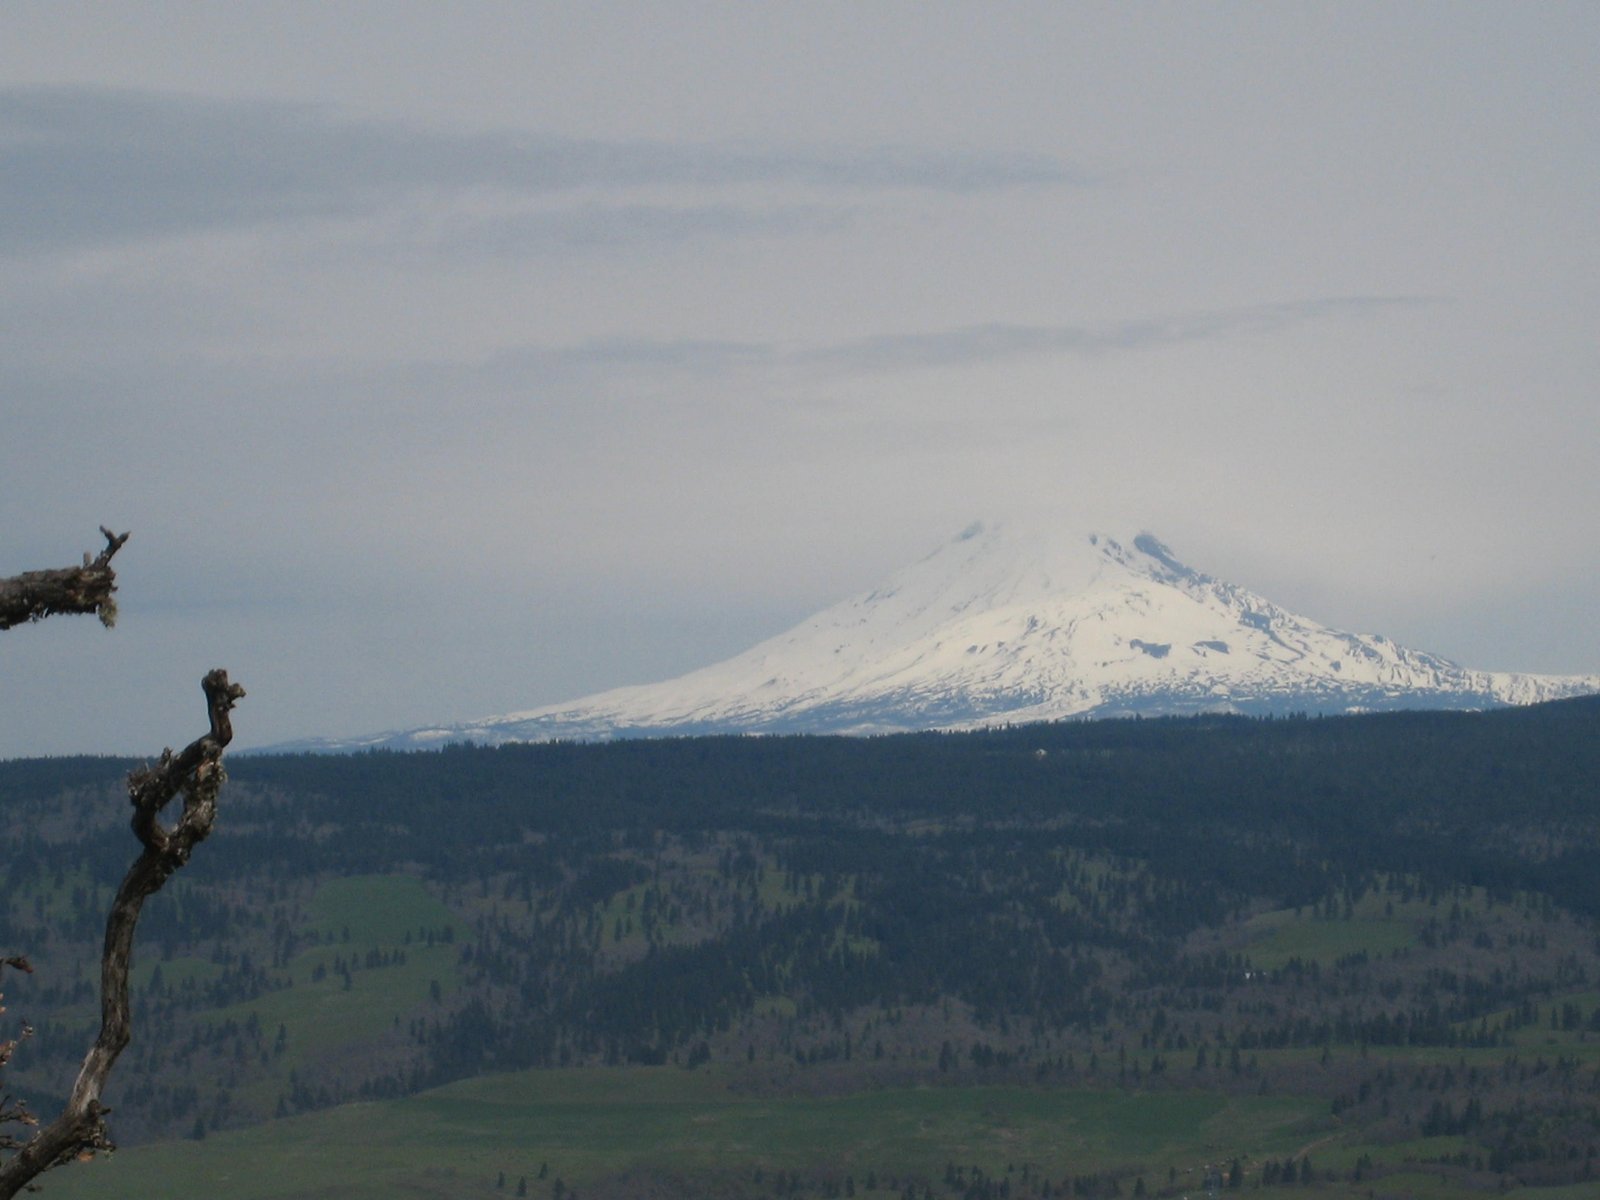
Mt. Adams.
 
I packed a delicious lunch.  This is my favorite part of hiking.
 
Matt had turkey, I had ham.
 
Attempt at self-portrait.
 
Still squinty.
 
Matt attempts to squish the mountain.
 
A study in contrasts.
 
We've come a long way.
 
Various wildflowers.

Next time we will do both the hike up to the top and the Rowena Crest Trail, as we hiked for a smaller amount of time than we drove to the hike.  Aside from the views, and the sandwich, my next favorite part was driving through the windy roads to get back to the interstate.

Saturday, April 6, 2013

Antares and blankets


He's such a fan.  He likes to snuggle.